
Volvo Sleeper Window Fix
8/1/2015
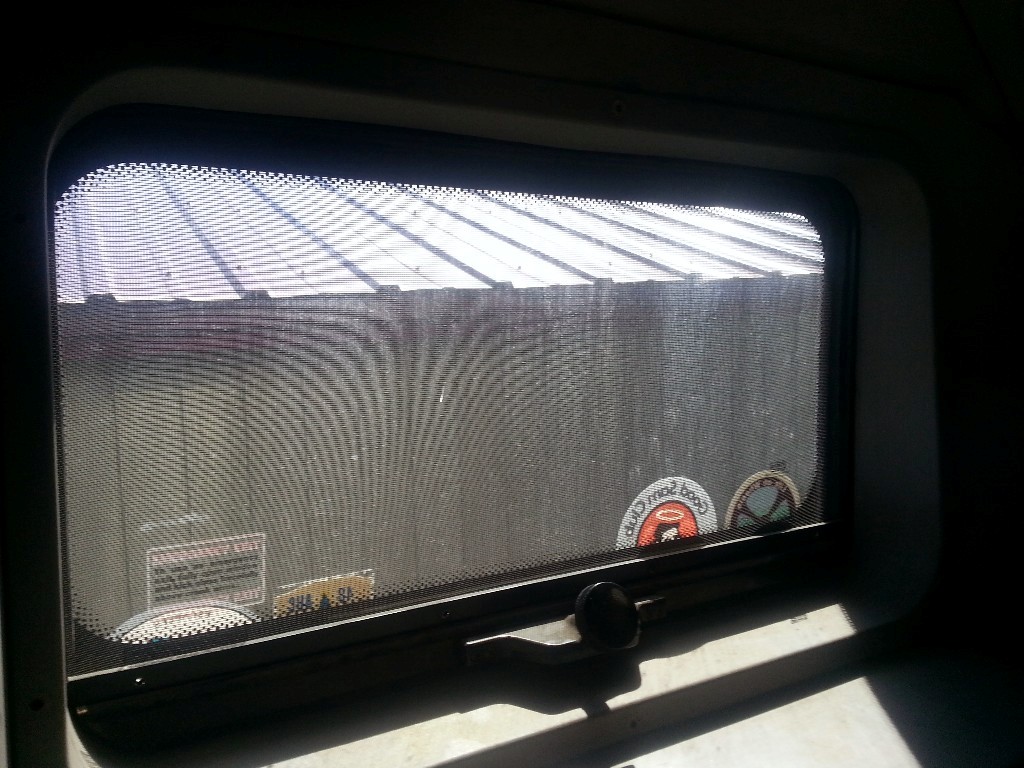
For a while, there have been occasions when one of the sleeper windows would get loose driving down the road. The CoPilot would get up and tighten the window opening control and the rattle would go away.
I was doing a PC project in the sleeper and I opened the sleeper window for some ventilation when something feel out the opened window. I never found what dropped in the gravel but it must have been a portion of the inner gasket of the hinge mount for the window glass.
We disassembled the window surround to see what was going on. The screen needed to be removed too. At first, it looked like there should be two bushings with threaded inserts on each end that would fit into the holes in the window glass.
I called Mike at GATR Volvo and described what I saw. I was hoping there would be parts instead of replacing the whole window assembly. It turns out there is a kit just for that problem.
These are some pictures of the fix.
-

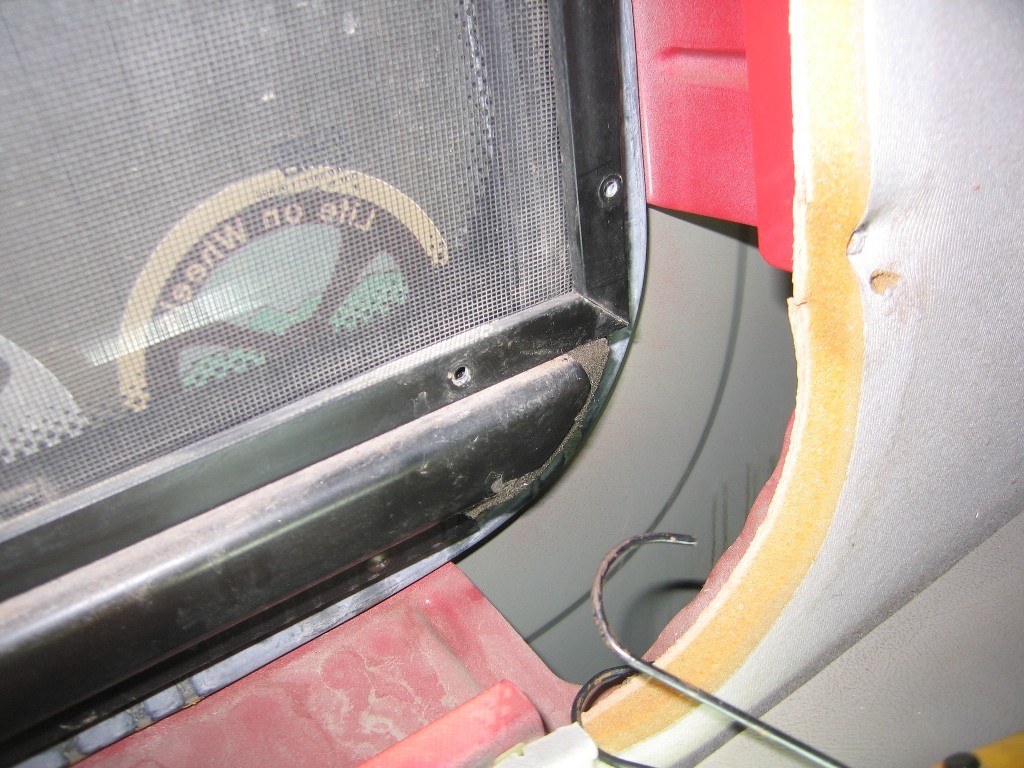
First I removed the window surround. -

Then the screen was removed. Use caution not to drop any screws into the sleeper wall.
-

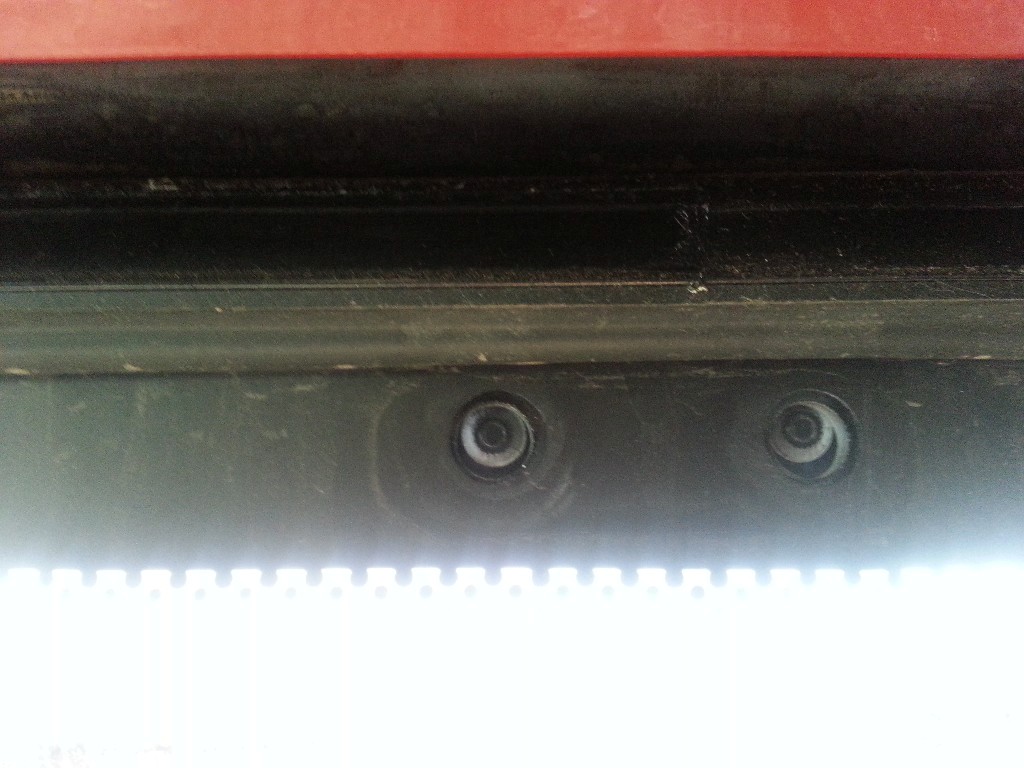
This is how a sleeper window hinge should look from the inside. The screen makes it hard to see this normally.
-

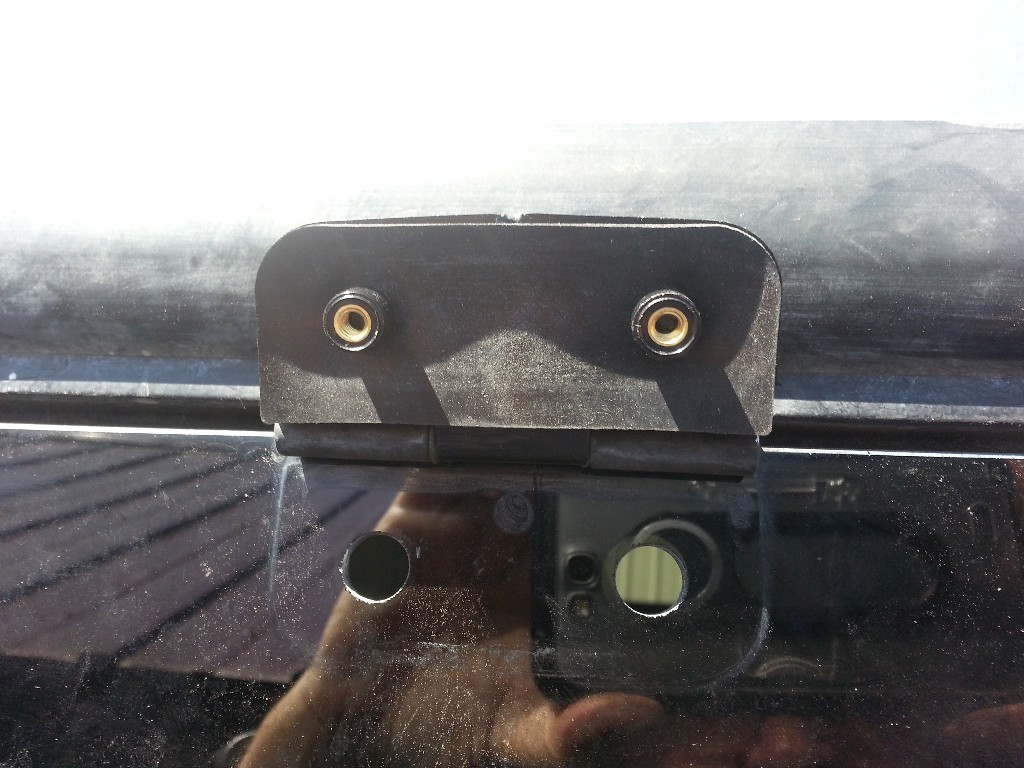
This is what a broken hinge looked like. The cover plate was gone. -

There are supposed to be plastic bushings to locate the window glass. -

Here is the hinge plate flipped up showing the broken bushings. -

This is the repair kit from Volvo. Part number is 85110379 (HINGE KIT). A new hinge piece, the inner plate, two gaskets, two screens, a washer-spacer, and a ream tool. The ream tool was used to clean the shaft hole in the hinge plate..
-

The shaft is tapped out. There is a small washer on the shaft between the hinge plate and the frame hinge part. I found it easier to use that spacer than the new one in the kit. so don't loose it.
-

The new hinge plate in installed. A little tricky getting the spacer back on the shaft between the hinge plate and the rest of the hinge. -

You can see that the bushings on the new hinge plate fit the holes in the window lass. -

Almost done. After taking the photo, I had to go back and reposition the inner gasket. It is hard to see in the dark.


While the screen is out, it is a good chance to clean the screen and the inside of the window as is not a routine task.