
Volvo Hood Hinge Mount Repair
Brad Dadles had a problem with his hood. The mounting point for a hood hinge had separated from the fiberglass. Not wanting to purchase a replacement hood, Brad created a new mounting plated to attach the hood hinge.
These are photos of the repair. Click on the photos to enlarge them.
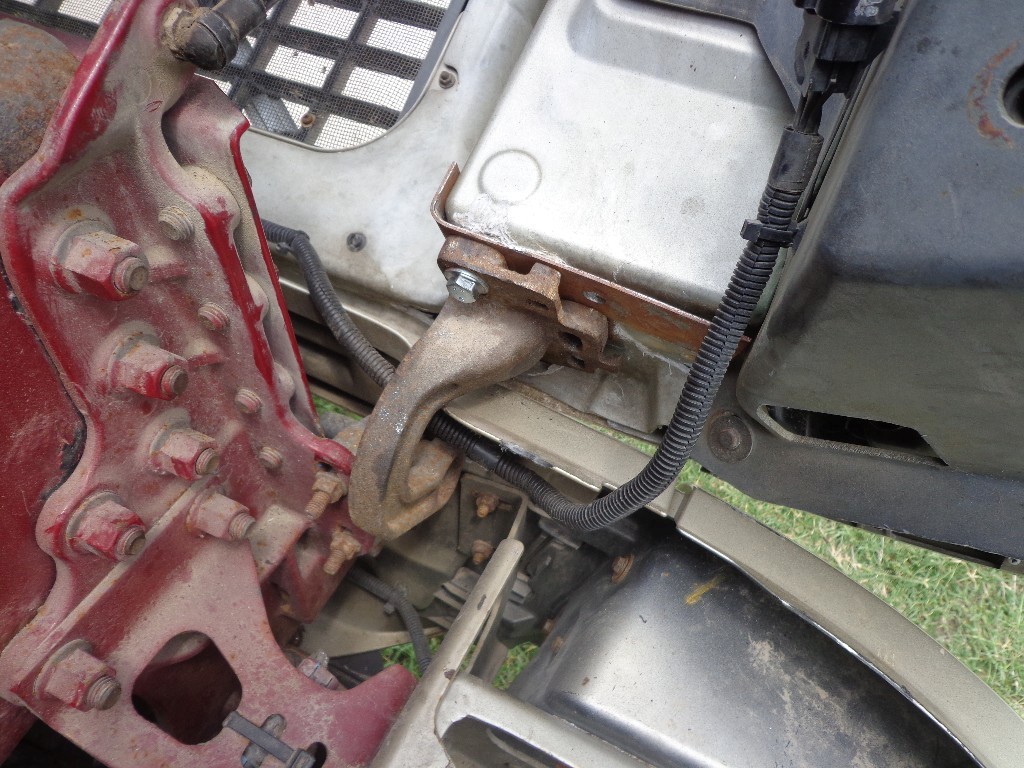 |
Figure #1 - Shows where the hinge attaches to the hood and you can see the cracked hood area. The metal I added is 1/8" plate and I slide it between the fiberglass of the hood and the hinge. The metal spans the cracks and wraps around the edge of the fiberglass. The hinge bolts go through the new metal plates. |
 |
Figure #2 - show the same repair and cracked area from closer and slightly different angles as Figure #1. |
 |
Figure #3 - shows the same repair and cracked area from closer and slightly different angles as Figure #1 |
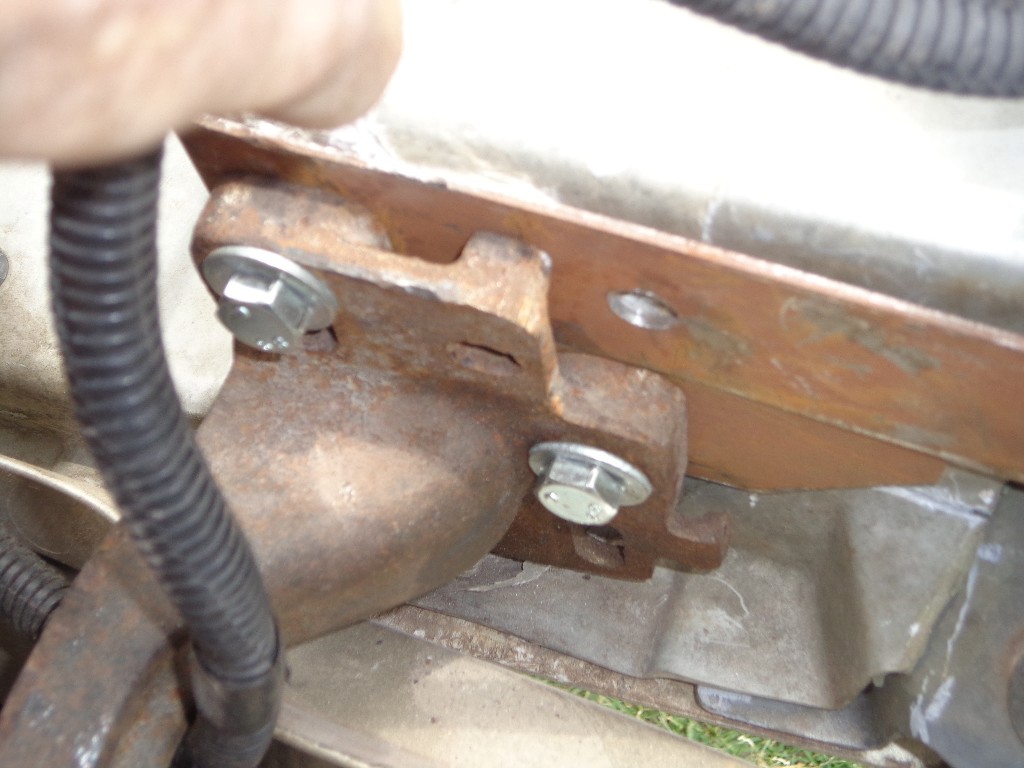 |
Figure #4 - shows the same repair and cracked area from closer and slightly different angles Figure #1 |
 |
Figure #5 Is from the front of the hood and shows what is left of the bracket inside of the hood. I have no idea how it was attached originally but it tore or rusted loose. When it came loose there was nothing to hold the hood to the hinge. Just the hinge to the mounting plate. |
 |
Figure #6 - Shows the new brackets I made out of 1/16" plate. This is the ugly part but the space to work in is only about 4" high. One of the new hinge bolts runs through the new plates and a nut hold everything together. Now we have a new area to attach the hood |
 |
Figure #7 - Shows the new brackets I made out of 1/16" plate. This is the ugly part but the space to work in is only about 4" high. One of the new hinge bolts runs through the new plates and a nut hold everything together. Now we have a new area to attach the hood |
 |
Figure #8 - Once the hood is opened (carefully since the hood will flop around) everything will slide back into place and now we attach the hood to the new brackets. I added the plate that is pictured and run 8 heavy screws to attach the hood to the new brackets |
 |
Figure #9 - Shows an addition plate I added after the hood was once more attached to the hinge |
 |
Figure #10 - Shows the plate in Figure #8 after I had painted everything |
 |
Figure #11 - Shows the scrapes that the hood makes in the fiberglass on the opposite side from the failing hinge. When the failing side hinge collapses up into the hood the whole thing just flops around and scratches everything |